
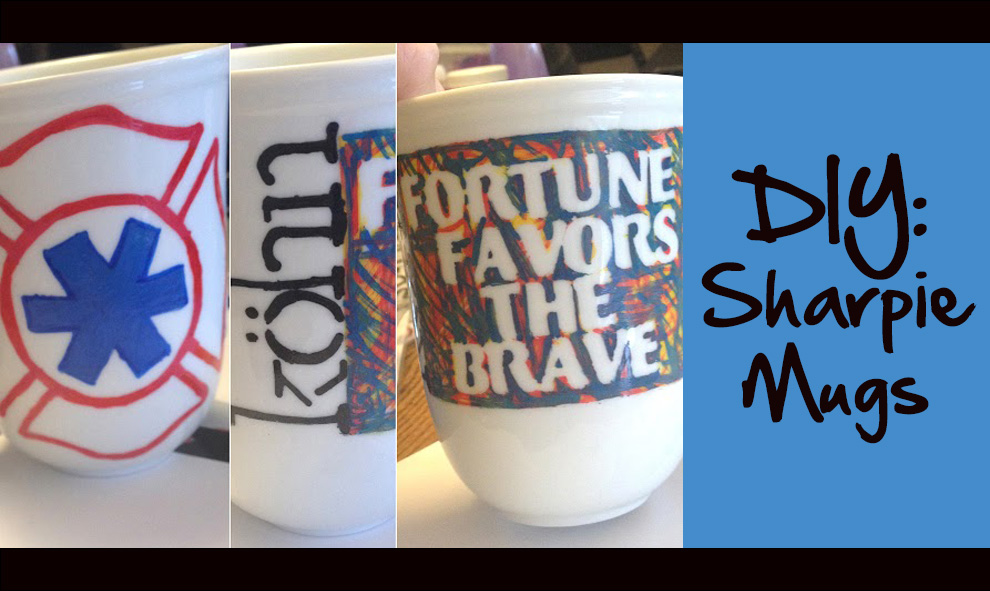
DIY: Sharpie Mugs
February 3, 2015
Supplies Needed:
- Mug
- Oil-based paint Sharpie markers
- Rubbing alcohol or fingernail polish remover
- Q-tips
- Stencils, exacto knife, tape (optional)
1) Gather supplies. I bought my white mug at Walmart, but even dollar store mugs work great. The cheaper the better. You also need oil-based paint Sharpie markers. They can be bought at popular craft stores.
I wanted to used stickers for my letters and I made a stencil from paper and tape and used an exact knife to cut it out for my design to trace on the mug, but these items are optional. One last thing that really helps if you mess up as you are drawing your design is some some rubbing alcohol or fingernail polish remover and some Q-tips. You can use these if any of the paint bleeds to clean up your design.
2) Start drawing. Decide what you want to put on the cup, and maybe practice drawing it on a piece of paper before drawing on the mug. Pick a meaningful quote or a cute graphic to decorate the mug with, and get inspired or by Googling examples of Sharpie mug projects online.
3) Dry it out. Let your mug dry for a few hours or overnight before placing it into the oven.
4) Bake it. Bake the mug in the oven for 30 minutes at 350 degrees. Remember to place the mug in the oven before it heats up and leave it in until the oven cools completely so there won’t be any cracks. You can choose to bake the mugs twice to really set in the Sharpie drawings.
5) Care and wash: Hand wash the mug gently instead of throwing it in the dishwasher, as a machine washer may ruin the design.